Photoshop Tutorial: How to make a cute starfish
By Troy Dunham
troyboydesign.com
People often ask me how to make cute icons or characters using photoshop so I thought I'd turn to my amazing and talented friend Troy! Troy has created some pretty adorable desktops and iconsets for us in the past using primarily photoshop and has mad skills when it comes to retouching and collage work.
This tutorial will show you how Troy made his cute starfish illustration from start to finish. You can use this tutorial as a launching pad for creating your own amazing animals or for improving your photoshop illustrating skills. You'll need to know how to use the pen tool in photoshop to create the overall shape with paths and curves.
1. Start with a Sketch. It's always easier to create an overall shape using vectors if you have something to trace! Im totally addicted to my Wacom tablet, but nothing beats pencil on paper.
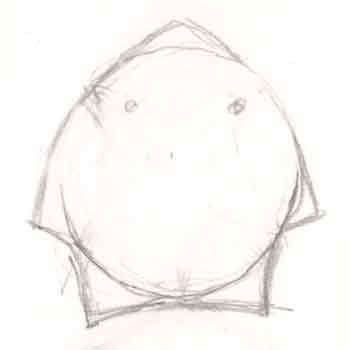
2. Scan in the sketch and open it up in photoshop. (you can use a flatbed scanner or even take a photo of it with a digital camera - whatever is easiest!) Scale it to the size you'd like to work with.
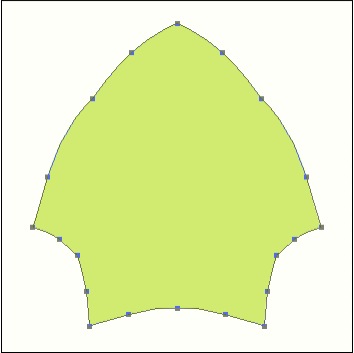
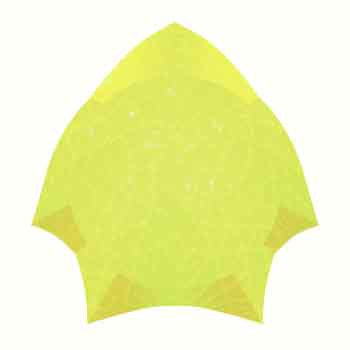
3. Trace out the overall shape with the pen tool and vector shapes. Getting these curves on the starfish spines to be "just right" was really tricky!!! Take your time.

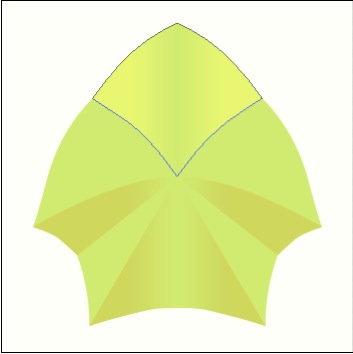
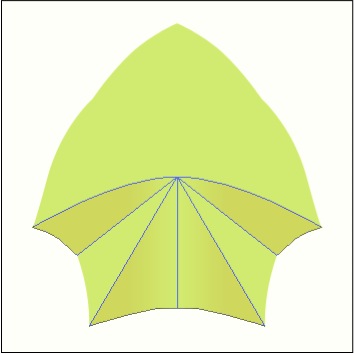
4. Add some more shading and Highlights by painting in some darker layers and applying textures and blending until they look the way you want them to. In order to get the triangular starfish leg pieces shaded correctly, I made triangle vector shapes layers and then applied them on the bottom so they'd appear darker, and a lighter one for the top piece.
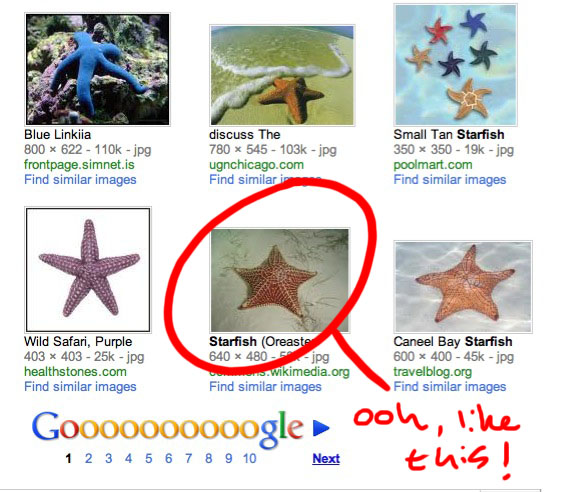
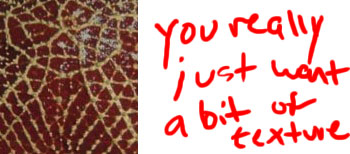
5. Add some basic shading and textures. For the texture I just Google-Imaged "Starfish". I found a clean piece and just dropped in on a layer. You can enlarge it until it's a bit blurry because no one will notice once the blending is done. Play with the blending modes like screen and multiply and opacity to get the effect you like (try different things - have fun!)

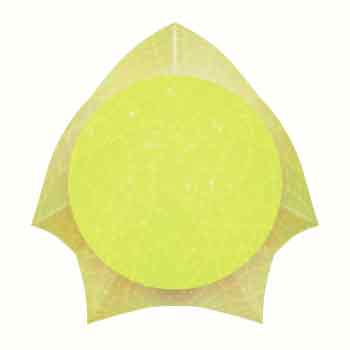
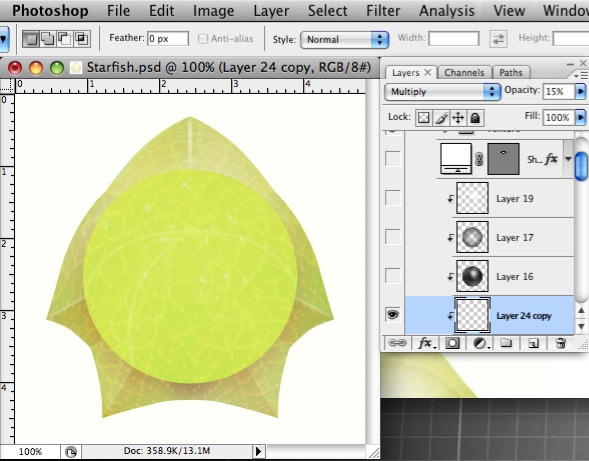
6. Even MORE shading and highlights, including a central brighter circle shape--this will be the face.
The best way to add the shadows is to use the eyedropper to pick one of the darker colors that you already have (adding the starfish texture created a few!). On a new layer, just paint the shadows in. You may have to play with the brush opacity or the layer blending mode to get them to look exactly how you want
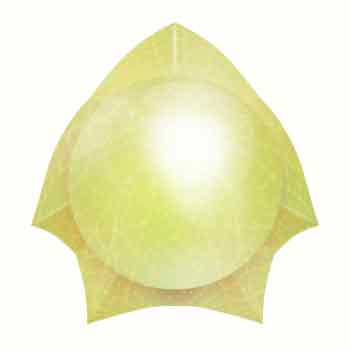
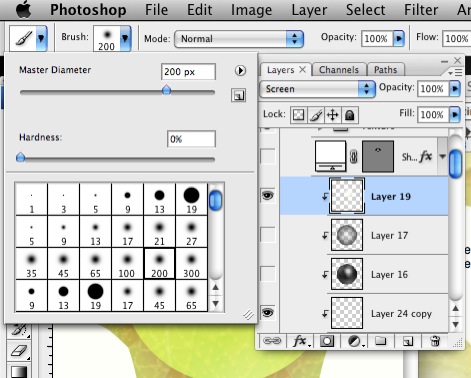
7. Add large circular highlight. For this big gorgeous highlight, on a new layer (with blending mode set to "Screen") just take a big soft brush (im using a 200px brush), and with your foreground color set to white, paint away! One good click should be enough to do it.
8. And finally, the most important part... the eyes!!!
Big huge anime eyes are fun, but im currently loving little bead-like eyes. They have a lot of personality!!! To make these, I just used the circle shape and made two black circles and then two smaller white circles on top (if you don't put the white dots right in the center of the black, it makes the eyes more expressive).

And there you have it--Adorable Starfish! :-)
Search The Site
Browse desktops by category: